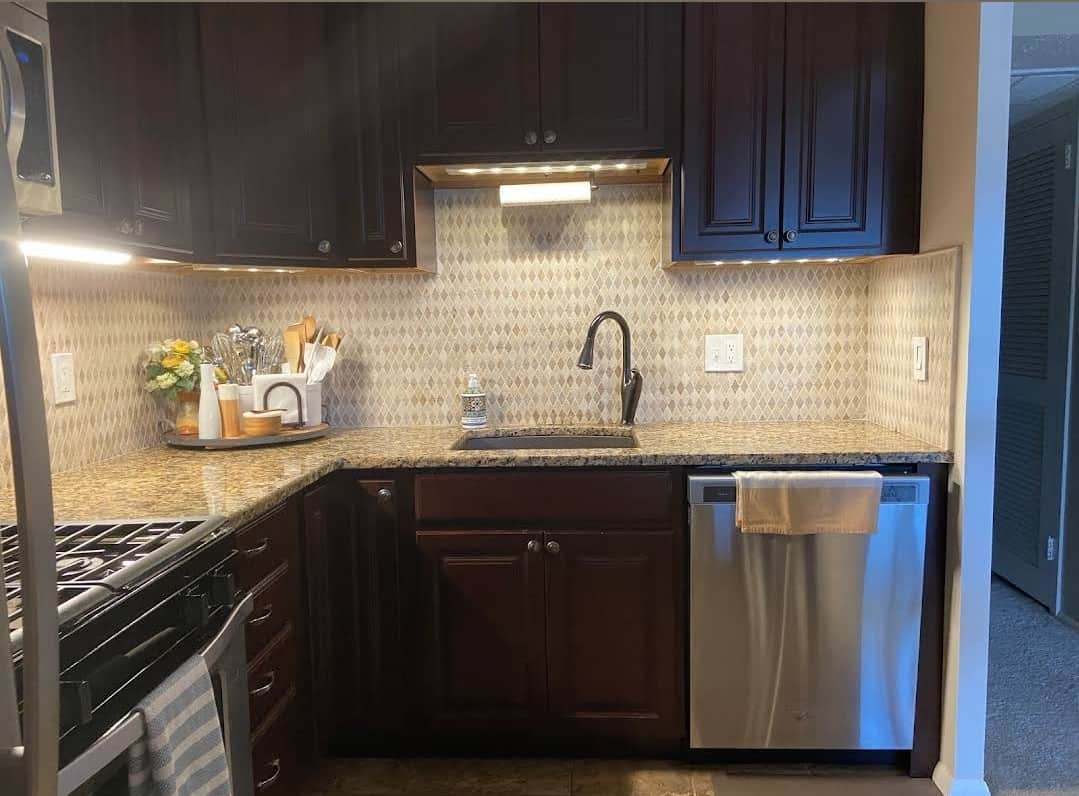
Cabinet Painting Company in Great Falls, VA, and Surrounding Areas
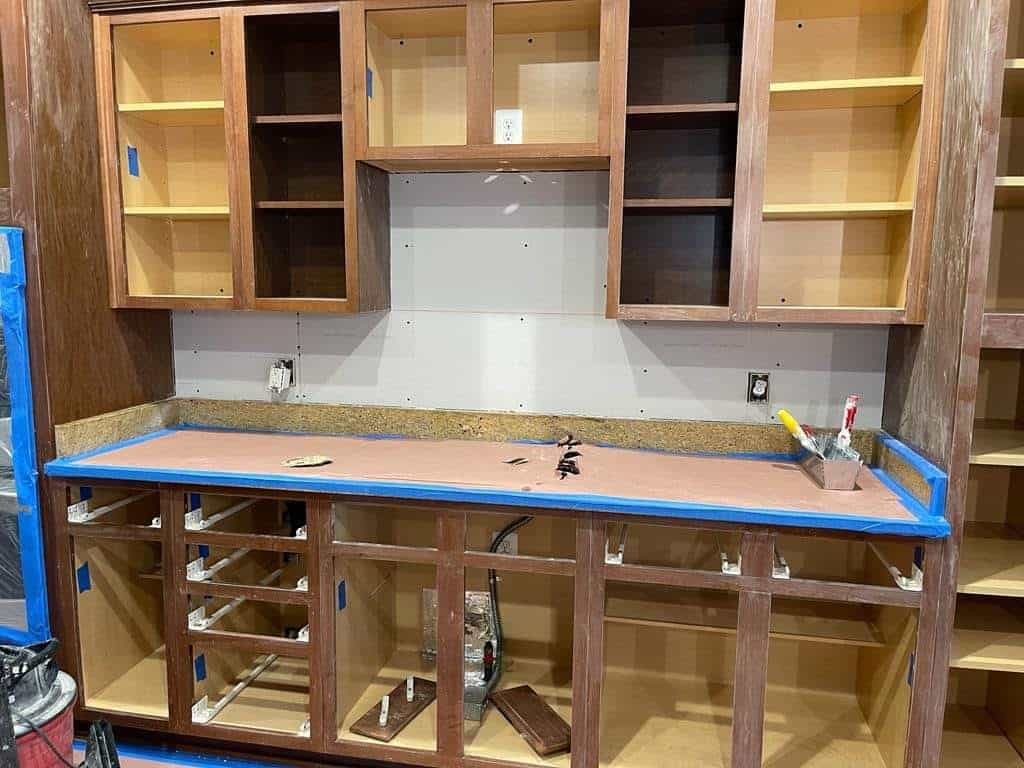
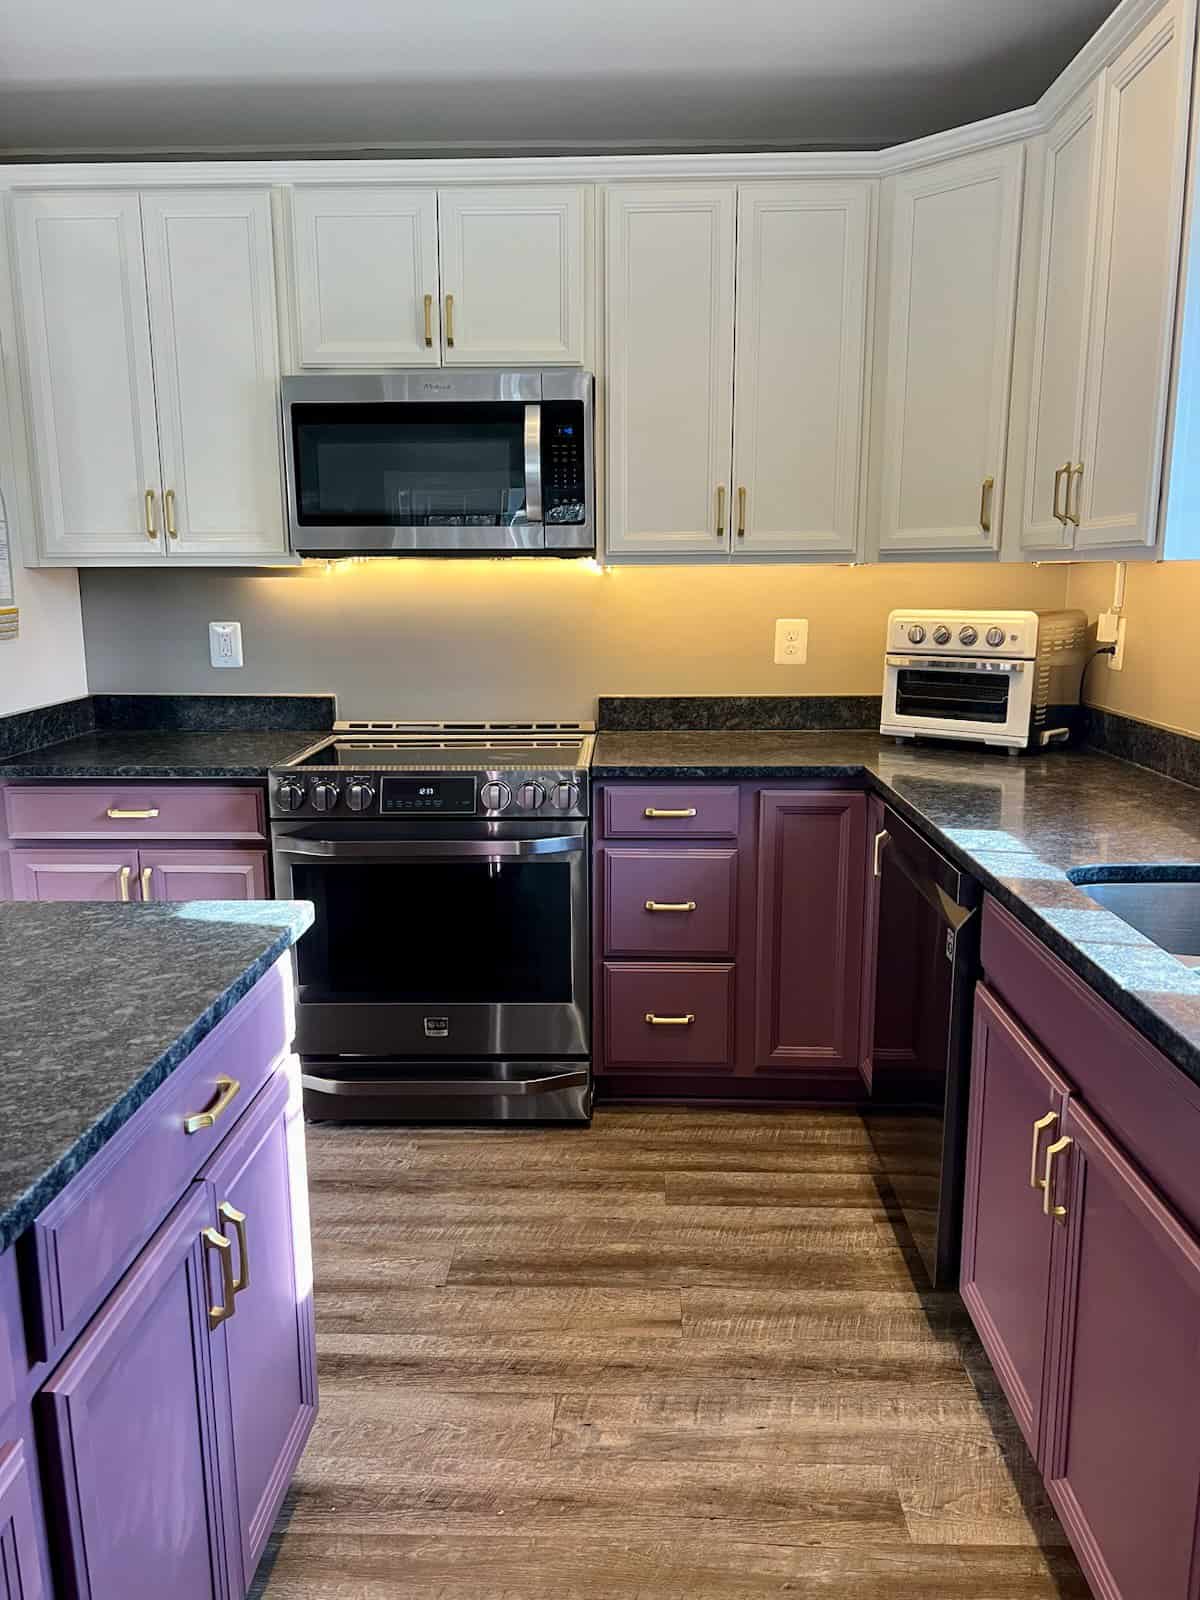
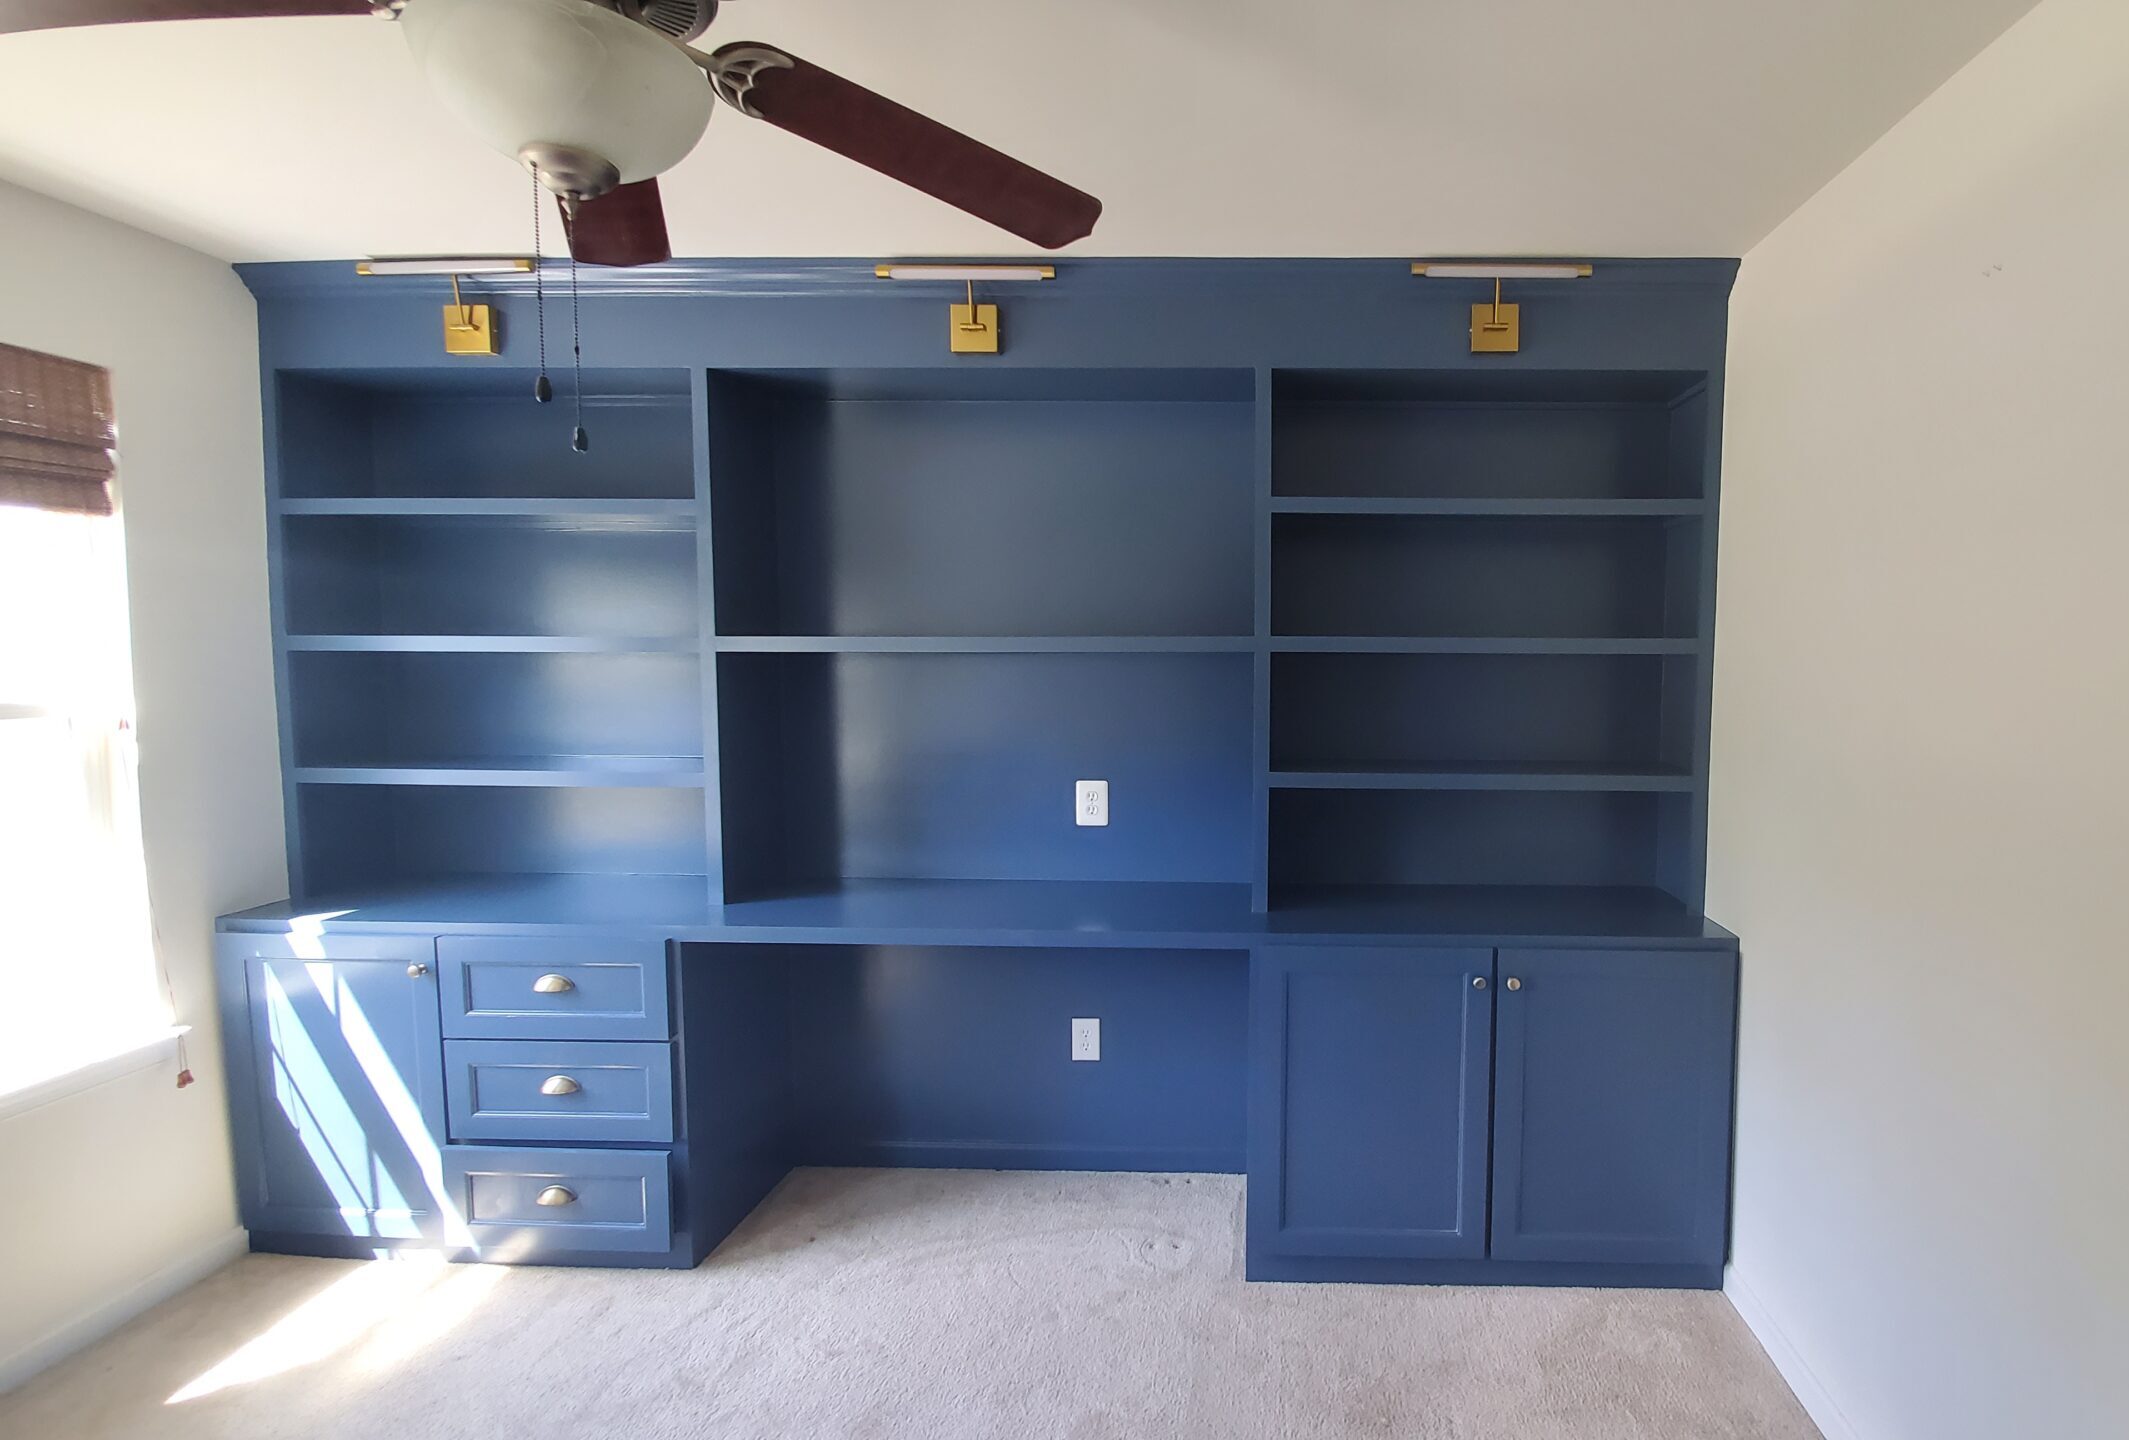
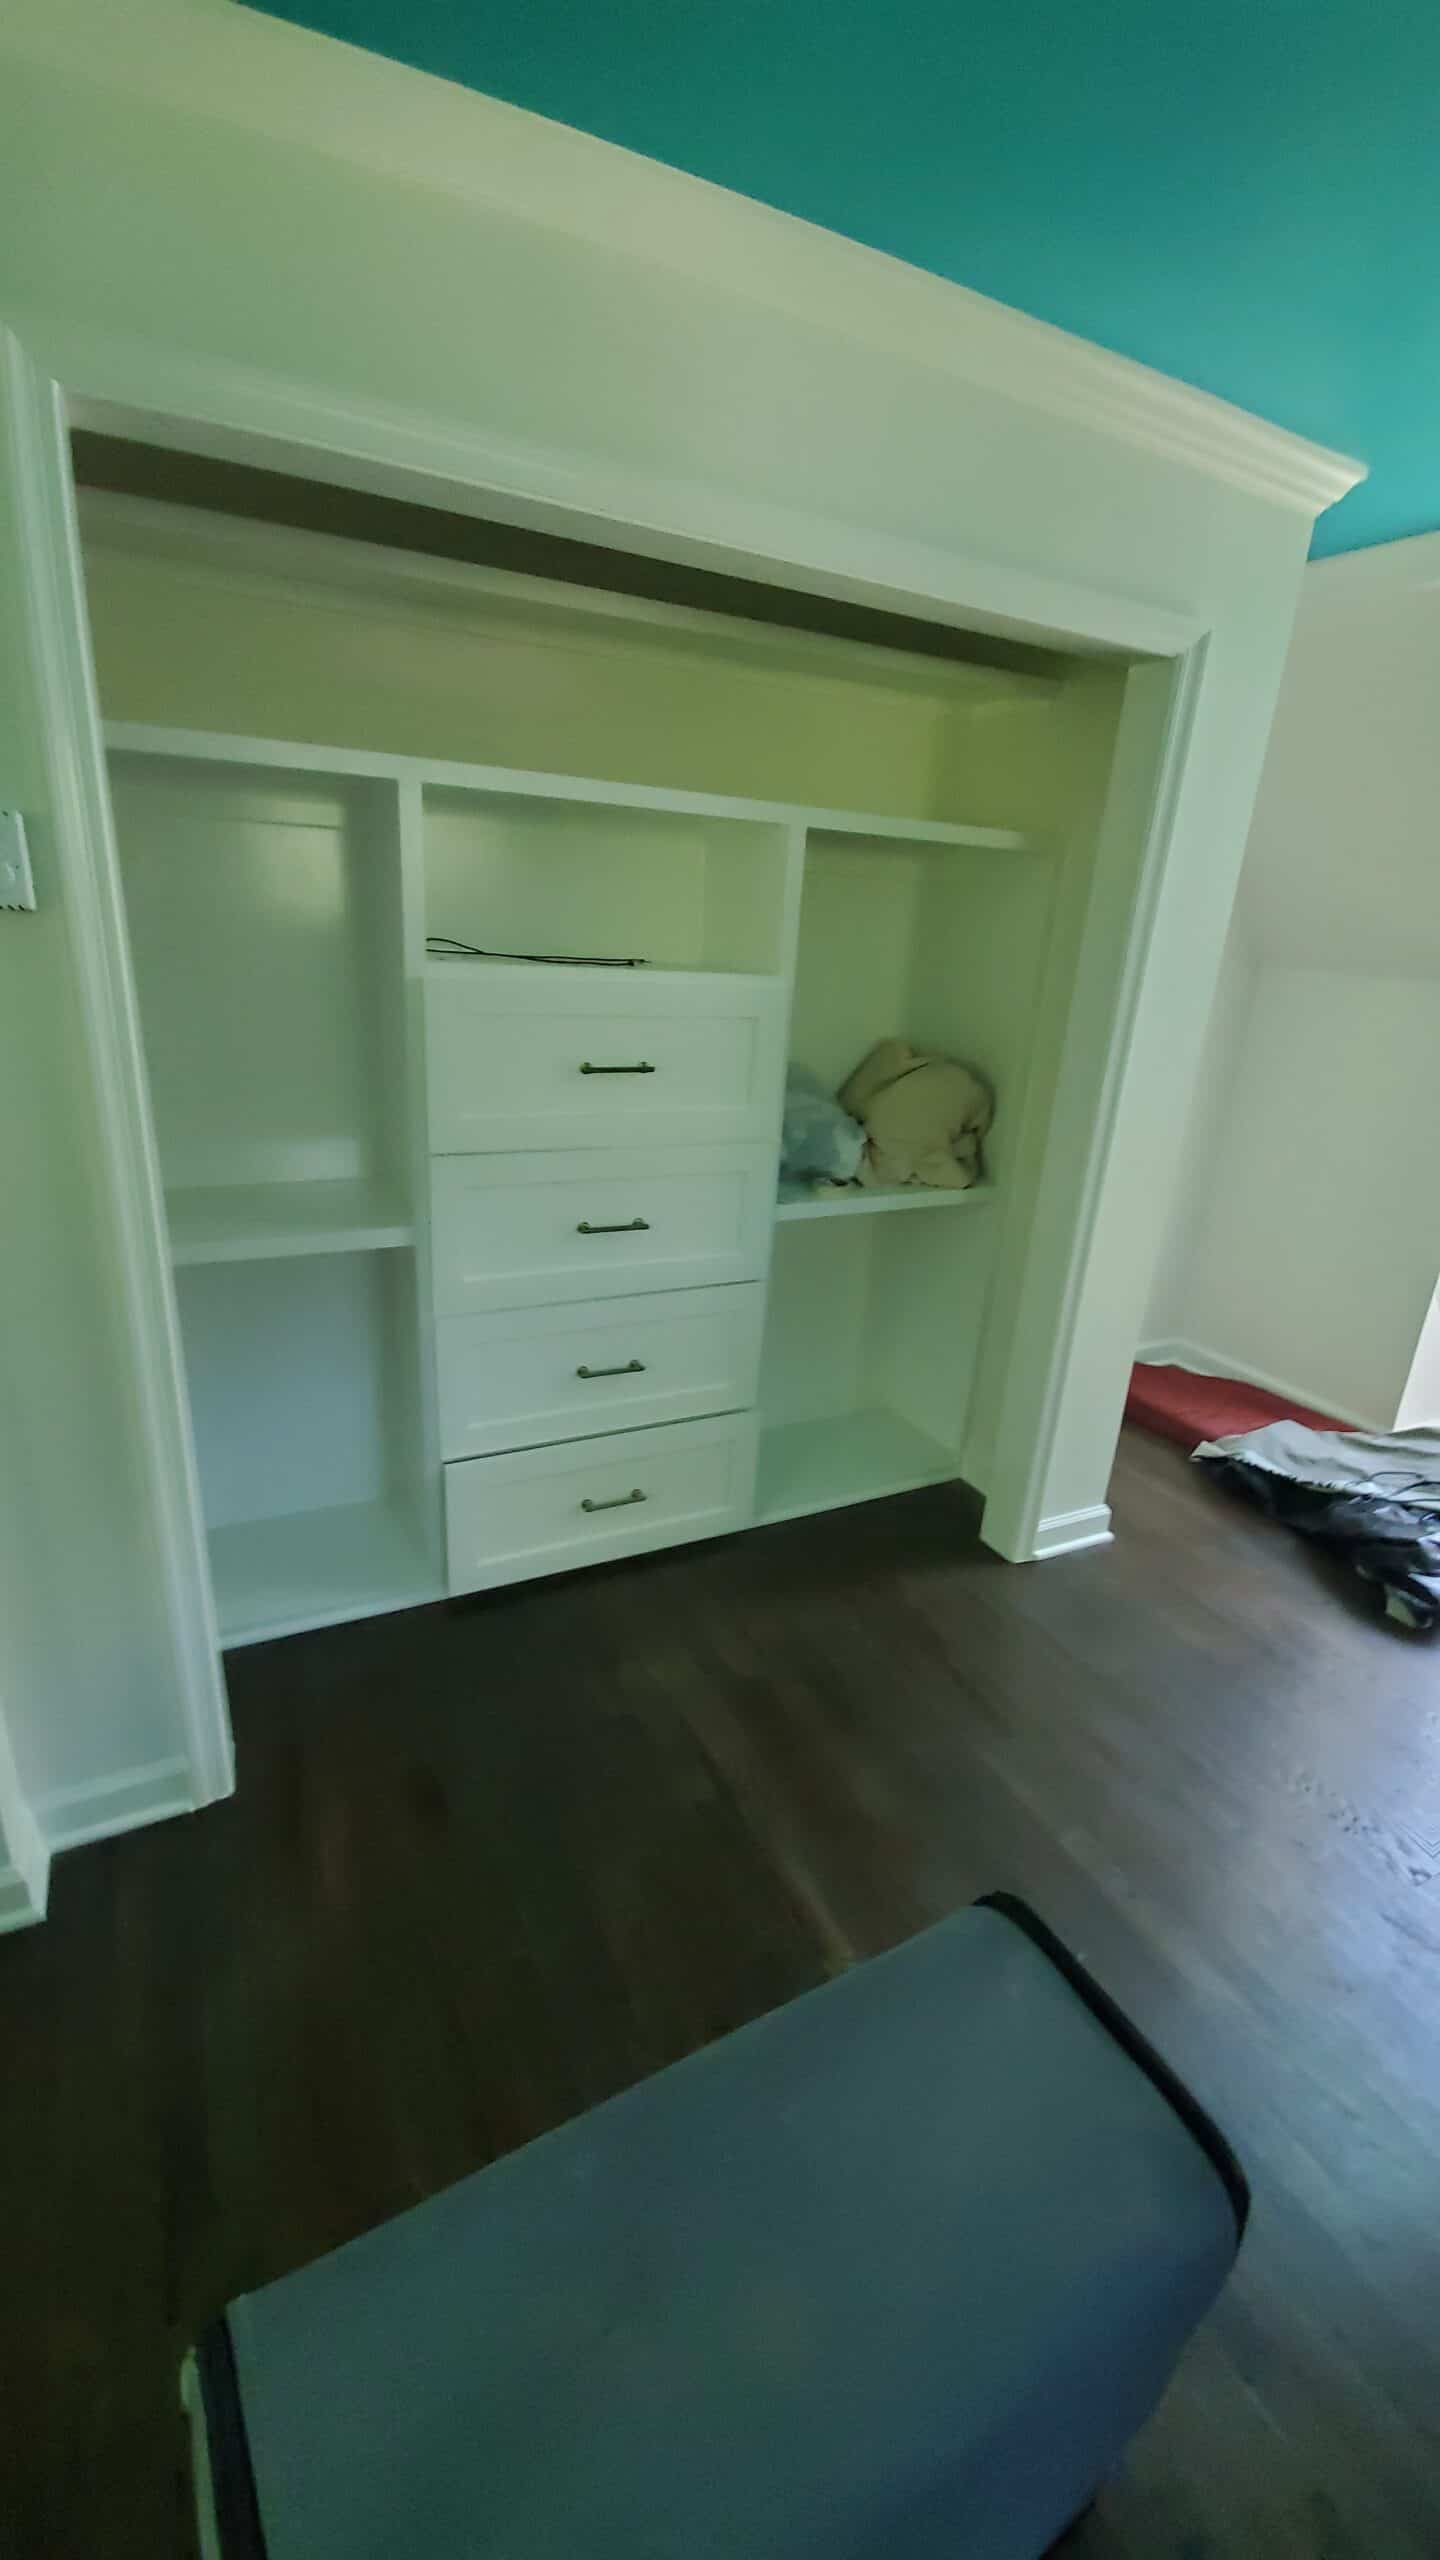
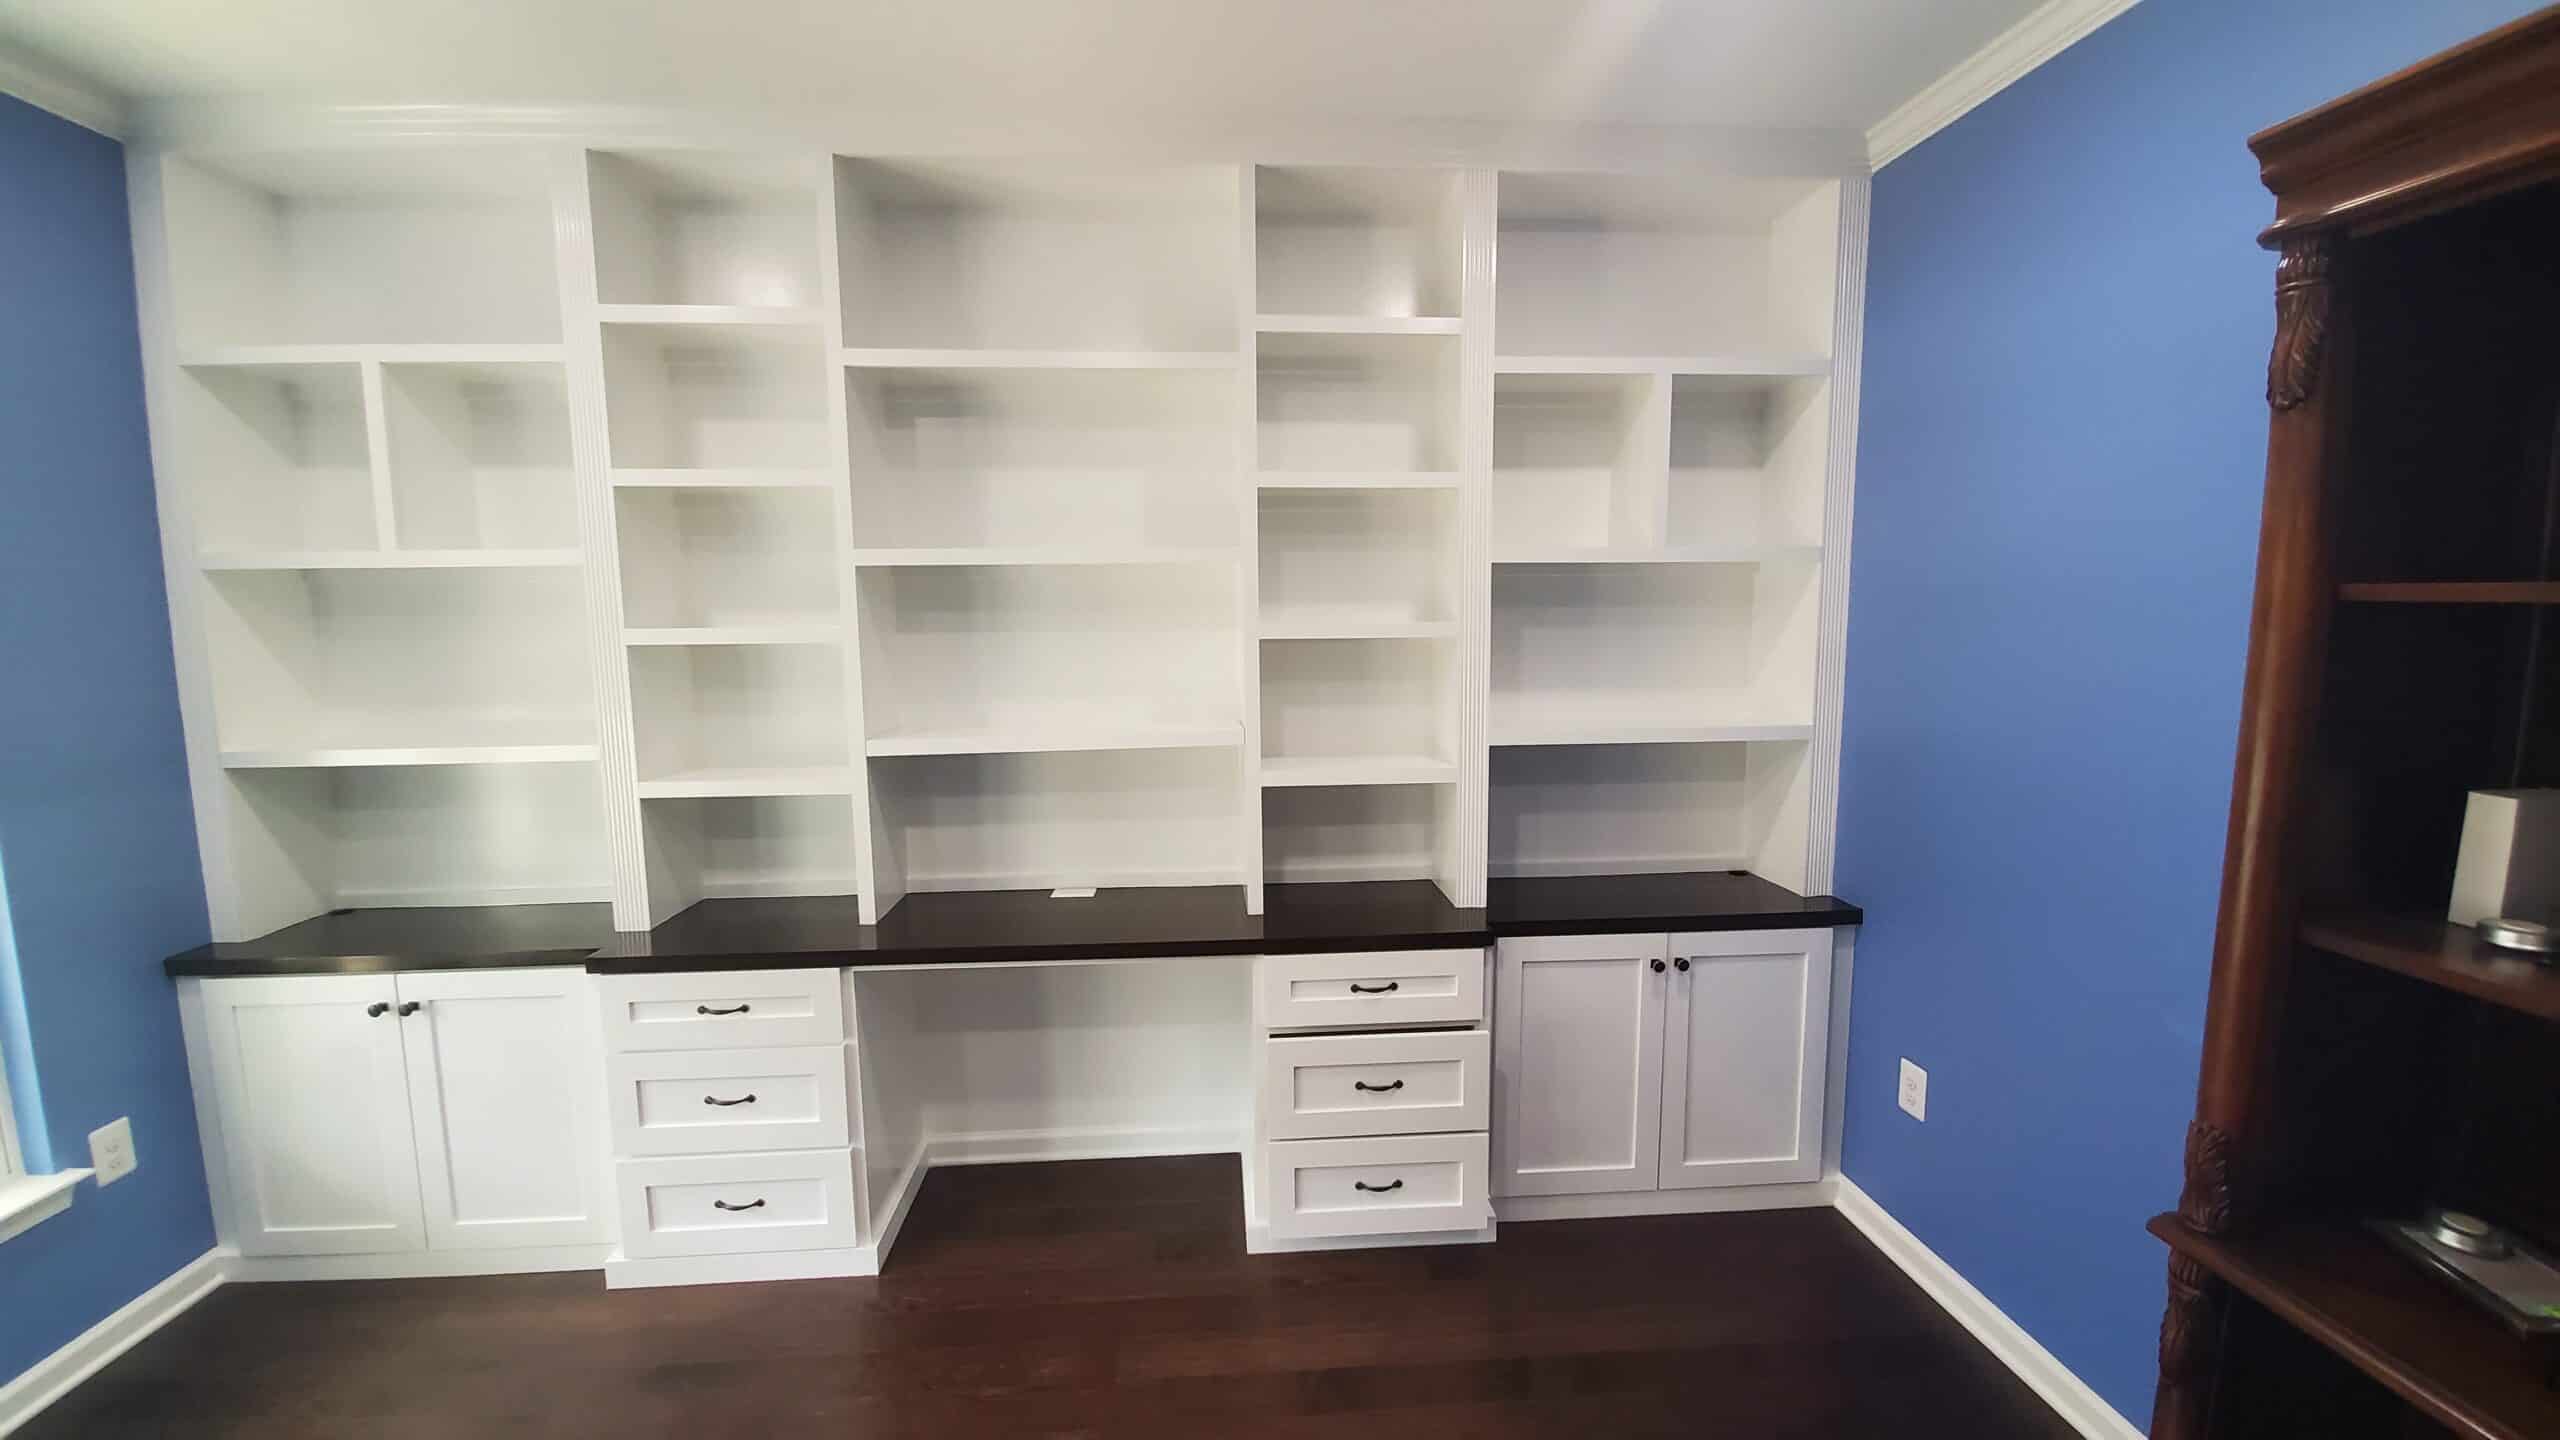
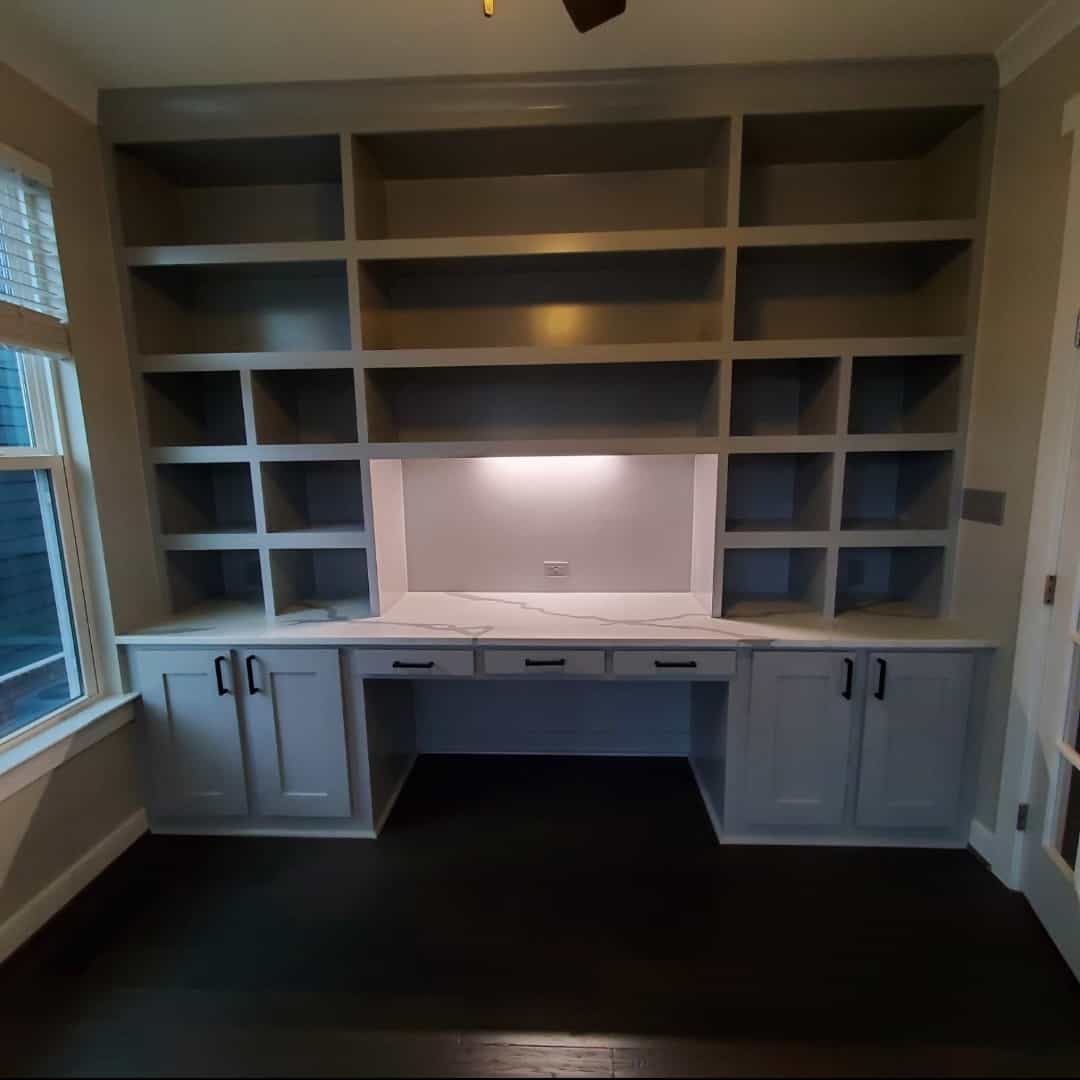
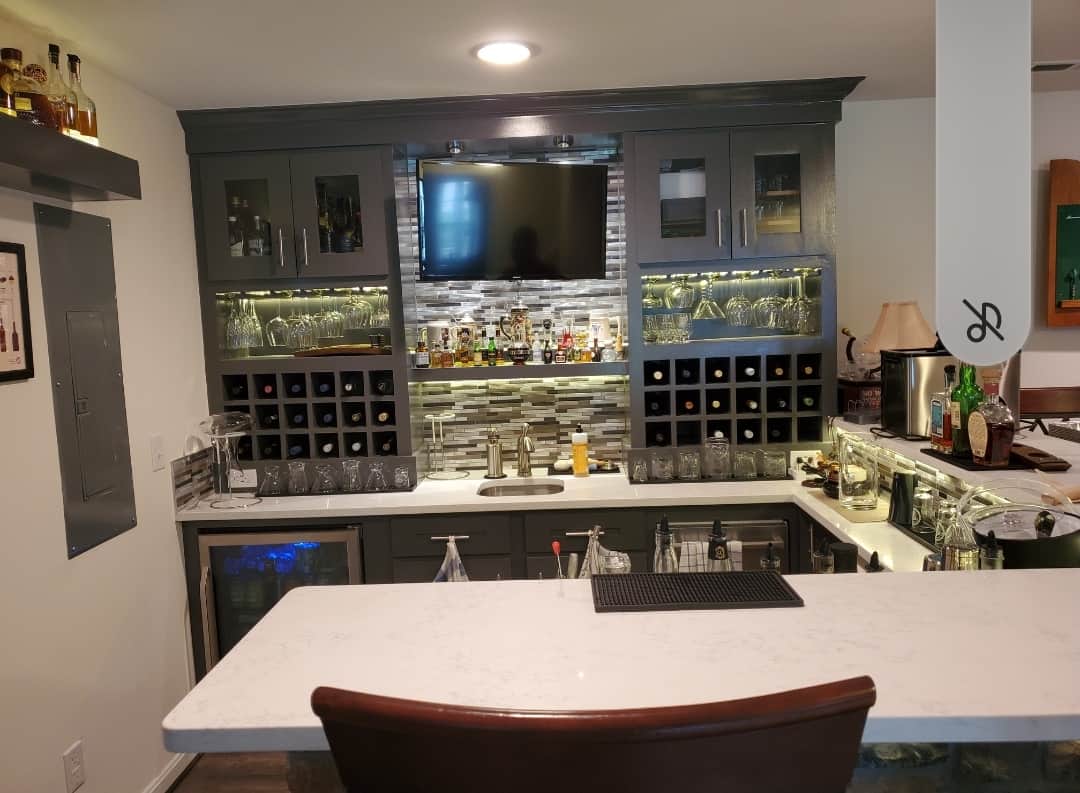
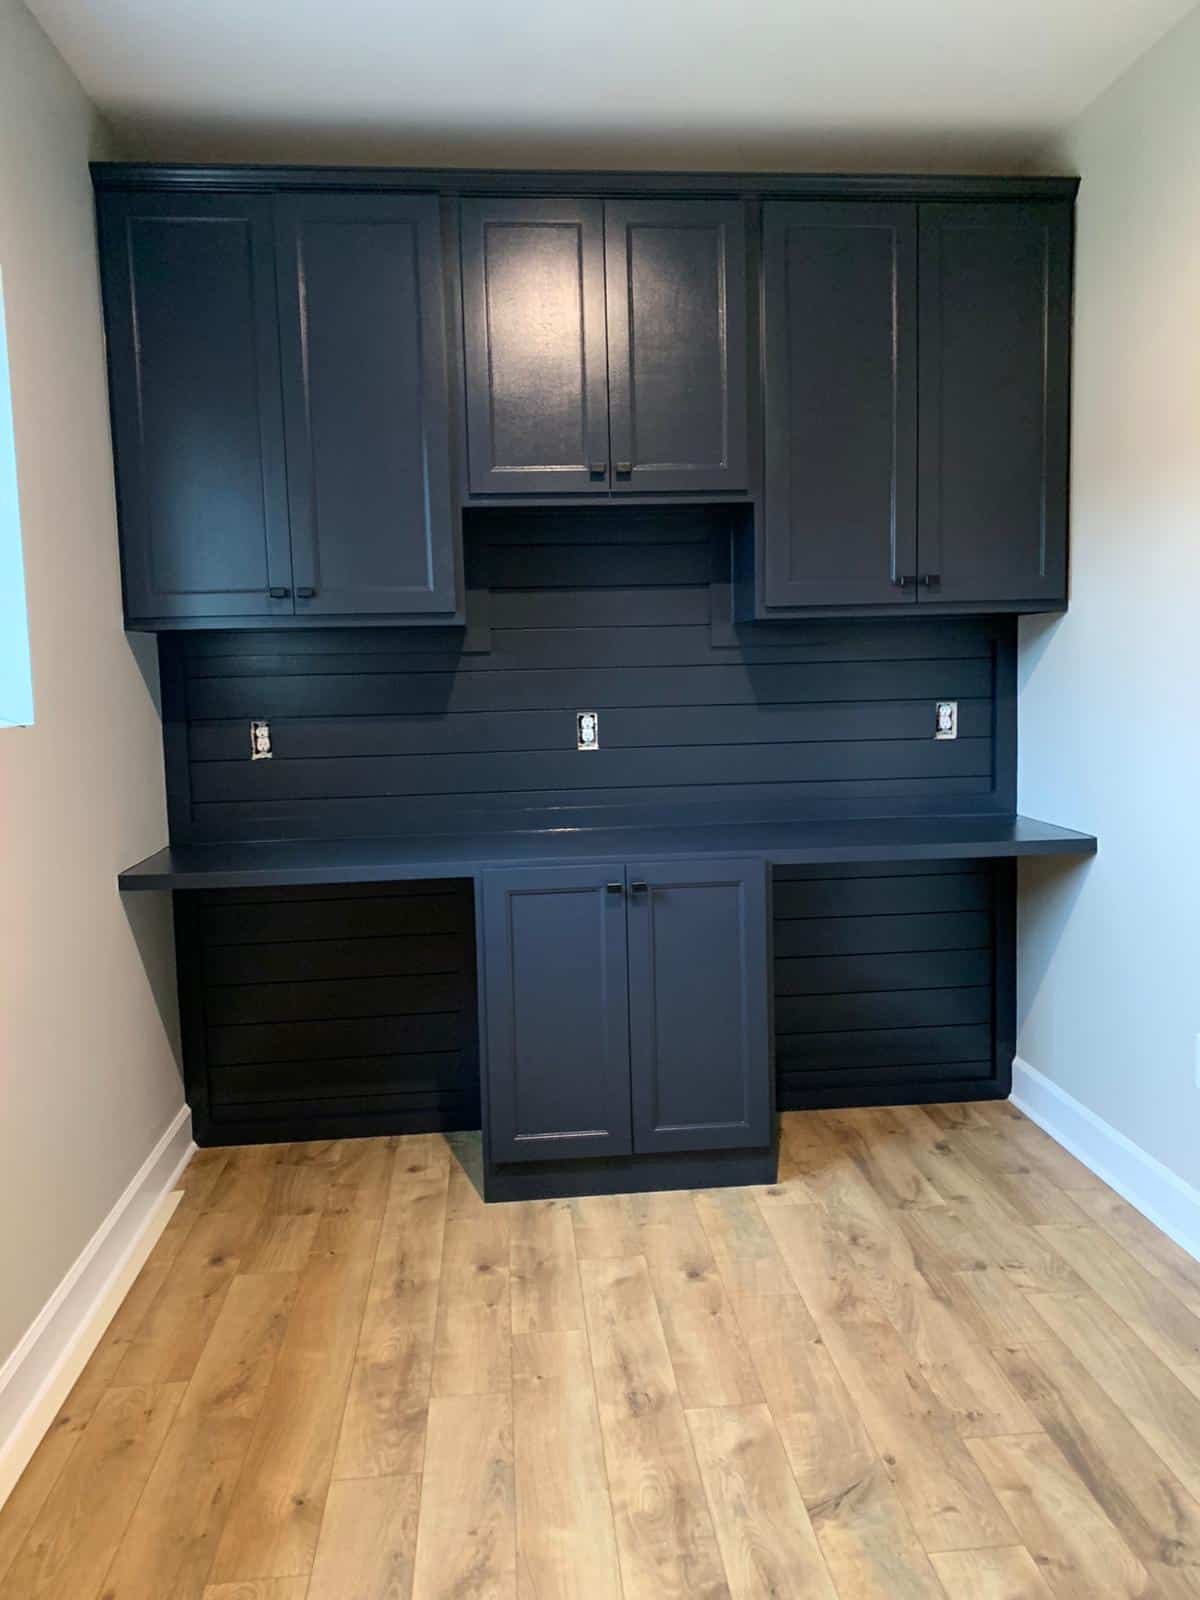
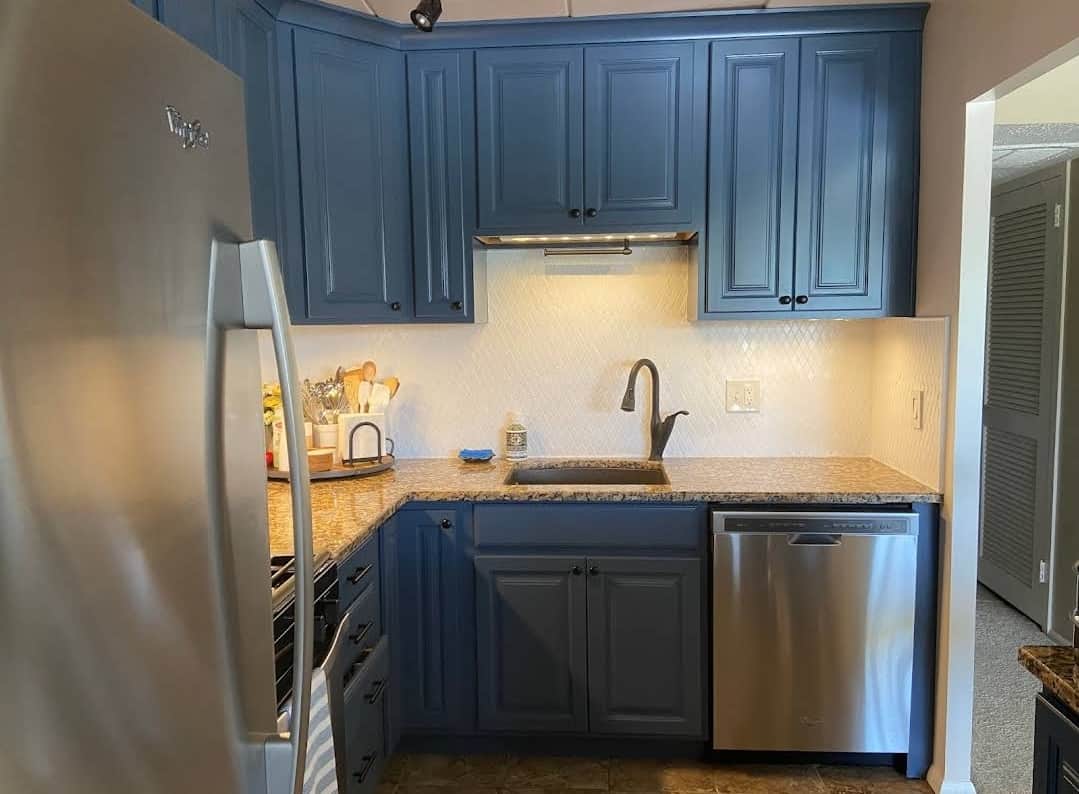
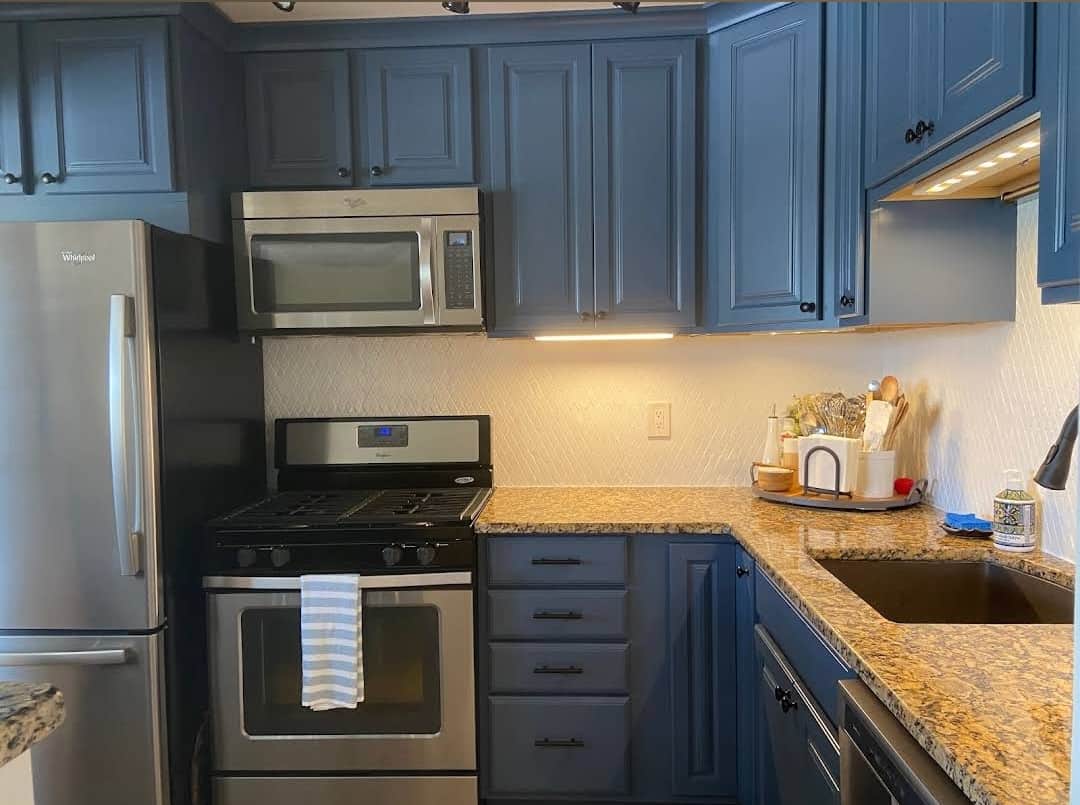
Are your cabinets looking dated or worn, diminishing the overall appeal of your kitchen or bathroom? JC Custom Painting LLC, a premier cabinet painting company, understands the transformative power of expertly applied paint. Serving Great Falls, McLean, North Potomac, Vienna, Alexandria, VA, and surrounding areas, we specialize in giving your cabinets a high-quality finish that rejuvenates your space.
Licensed & Insured
Cost Transparency
Always on Time
Locally Owned and Operated
Great Communication
High Quality Products
80+ Years of COMBINED Team Experience
100+ 5 Star Reviews on Google
Angie’s List Super Service Award
2 Year Workmanship Warranty
Tailored Cabinet Painting Solutions by JC Custom Painting LLC
We choose only the best materials for your project, using Benjamin Moore Advance paint for its durability and flawless finish. While we typically spray most components offsite to minimize disruption and ensure a superior finish, we also offer onsite spraying by request. For frames and drawer faces, our standard approach involves meticulous brushing and rolling, but we can accommodate spraying to meet your preferences.
Best Cabinet Painters
Our commitment to quality and customer satisfaction is reflected in our 5-star rating across over 90 Google reviews and the distinction of being an Angie’s List Super Service Award winner. Let us bring our award-winning service to your home and discover why we’re the top choice for cabinet painting in your area.
Cabinet Painting FAQs
Your Northern Virginia Neighbors had questions, these are the answers…

